Of Movement and Material
THREE PENDANT LIGHT INSTALLATION GUIDE
Our lights function with sensitive components and should be installed by a bonded electrician. Please read these instructions carefully before you start the installation. For safety reasons and to ensure that the LEDs are not damaged, the light must be installed without voltage.
Your package should contain the following components
- Three pendants equipped with 6 W LED-module and one minus (-) cable (marked black) and one plus (+) cable (marked red) attached
- Ceiling mount with LED Driver, three cable holders, terminal connectors and hooks for cover suspension
- Canopy cover and grub screws
Table of contents
- CEILING MOUNT
- CEONNECT THE DRIVER TO THE MAINS
- SUSPEND THE CANOPY COVER
- MOUNTING AND CONNECTING THE PENDANTS
- CLOSE THE CANOPY COVER
- SMART CONTROLS
1.1. Prepare the ceiling mount
Prepare the ceiling mount by removing the cover.
1.2. Attach the ceiling mount
Attach the ceiling mount using the designated slots. Make sure to use the appropriate screws and dowels for the ceiling.
2. Connect the LED-driver to the mains
Connect the LED-Driver to the mains using the terminal connector.
3. Suspend the canopy cover
Suspend the canopy cover from the side flaps on the ceiling mount – using the hooks provided.

4. Mounting and connecting the pendants
For safety reasons and to ensure that the LEDs are not damaged, the pendants must be connected without voltage.
Each pendant has one minus (-) cable, marked with a black flag, and one plus (+) cable, marked with a red flag. The minus (-) cable supports the weight of the glass and is the first cable to be installed. Please be very careful when you connect the cables to the terminal connectors. Confusing minus (+) and plus (+) leads to damage of the LED-Driver.
Our luminaires must be connected in a row. Therefore, it is of utmost importance that the respective poles plus and minus are always connected as side-by-side pairs.
4.1. Attach the pendants and adjust the height with the minus (-) cable
Mount the pendants using the minus (-) cable marked with the black flag. Thread the cable through the opening in the canopy cover into the knurled nut in the cable holder. When the cable comes out on top, use a thin tool (e.g. screwdriver) to push it sideways.
Push (do not pull!) the cable through until the pendant has the desired length.
Screw the knurled nut in to lock the cable.


4.2. Connect the minus (-) cable
Cut the excess cable, but leave enough to connect it to the terminal connector.
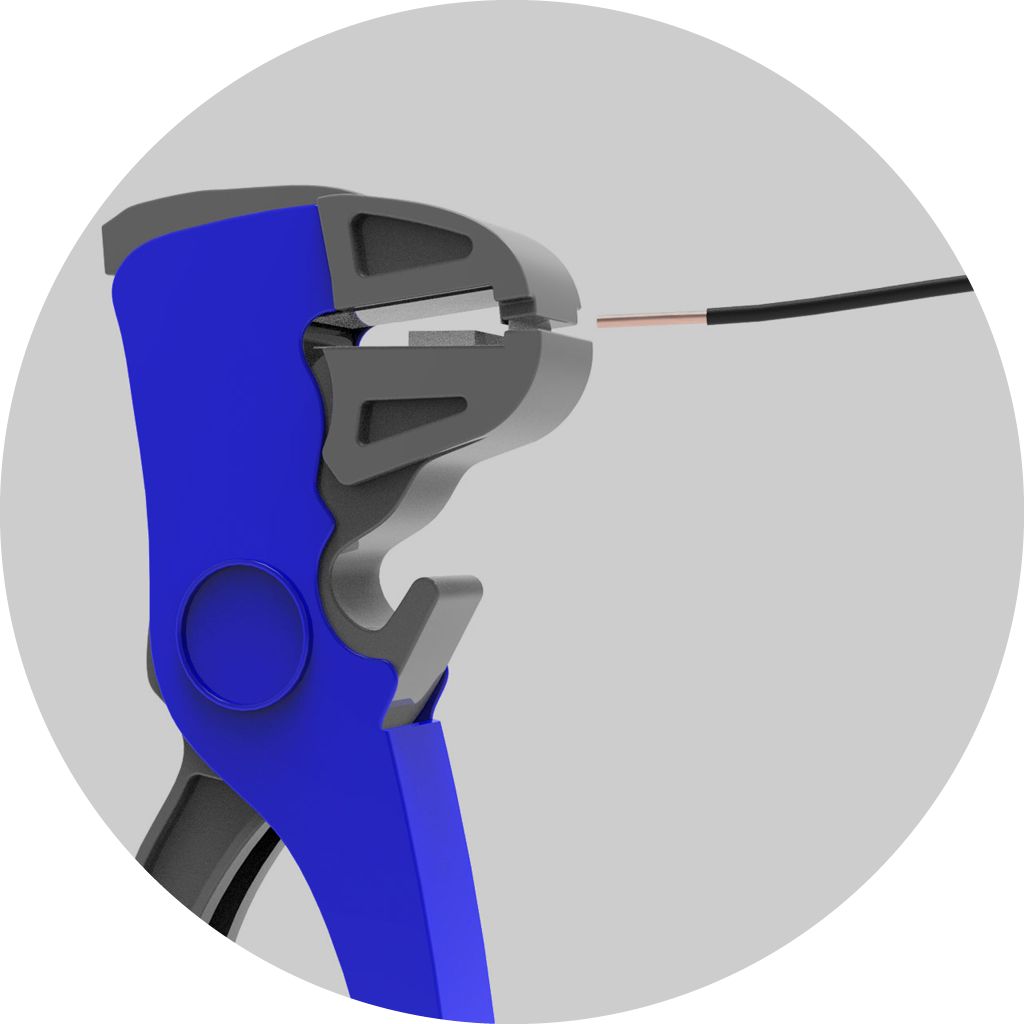
Strip the end of the minus (-) cable about 1 cm.

Connect the stripped end of the cable to the slot of the terminal connector marked with a minus (-).

4.3. Thread the the plus (+) cable
Before threading the plus (+) cable, make sure the pendant stopped rotating.
Lead the plus (+) cable marked with a red flag through the opening in the canopy cover and into the opening in the cable holder.
Push (do not pull!) the cable until it has little tension and firmly secure it with the grub screw.


4.4. Connect the plus (+) cable
Cut the excess cable, but leave enough to connect it to the terminal connector.
Strip the end of the plus (+) cable about 1 cm.

Connect the stripped end of the cable to the slot of the terminal connector marked with a plus (+)

5. Close the canopy cover
Once the LED’s are connected, remove the hooks and lift the canopy cover over the ceiling mount. Fasten the canopy with the provided grub screws.

6. Smart controls
Our drivers support smart control. If you want to control the dimming this way, you must connect the driver to the respective system. We support DALI, KNX, Casambi, ZigBee and EnOcean.
Please follow the instructions for the system you are using for the connection and installation of the driver.